X
Promo Image

Receive 10% off your first order!

Sign up for exclusive special offers and updates straight to your inbox

    No Thanks

    How to reset an Ideal boiler

    Ideal are one of the many boiler brands supported by National Boiler Spares. As such, we possess a deep understanding of how they work and where they can go wrong. Completing a boiler reset is crucial to analysing the severity of any issues your system is experiencing. In this blog, you’ll learn the step-by-step process of resetting an Ideal boiler in your home. 


    When should I reset my boiler? 

    A boiler reset is often recommended when the system fails to perform its regular function. If you notice a loss of central heating or hot water from taps, first check the pressure readings and power supply. If both of these are normal, resetting the boiler can be a route to restoring proper working.  

    While the Ideal range of boilers have a history of reliability, some issues can arise that warrant a greater response than a reset. In this case, Ideal boiler spare parts can be sourced to replace any faulty and defective parts responsible for the problem. 


    The process of resetting an Ideal boiler 

    Step 1 – locate the reset button 

    Every brand of boiler has a slightly different layout, both internally and externally. Variations are also present between different types of Ideal boiler, with some having dials and knobs are starting the process. 

    Step 2 – Initiate the reset

    • Logic – turn the control knob to the reset position as indicated around the outside, then immediately turn the knob to any setting of your choice. 
    • Logic+ – press the reset button which is located under the digital display screen. 
    • Esprit Eco 2 – starting the reset requires the simultaneous pressing of the up arrow and the select button on the control pad. Hold both down for 2 seconds. 
    • Vogue Max – as with the Logic+, simply press the reset button which can be found underneath the digital display. 

    Step 3 – Check to confirm reset 

    A successful boiler reset should result in the flame being reignited and normal operations resuming. You should also see that any boiler error codes that were present before the reset have now disappeared. The boiler reset process typically takes 2-3 minutes. To avoid causing additional problems, avoid pressing the reset controls for at least 5 minutes after the first attempt. 


    Expertise in UK boiler parts 

    At National Boiler Spares, our mission is to provide the parts needed for the boiler repair, restoration and maintenance of all the top boiler brands in the UK. This range includes a huge variety of new, alternative and refurbished parts to meet your needs. We also deliver across the UK, so if you’re looking for boiler spares near me don’t hesitate to get in touch. Our products have helped gas safe engineers restore heating to thousands of residential and commercial properties over the years. 

    Why does my boiler keep turning on and off?

    It can be frustrating when things don’t work the way they’re supposed to. Arguably more so than when something breaks altogether. Boilers certainly fall into this category, as they can experience faults that cause them to turn on and off of their own accord. This can lead to the property becoming too hot or cold and more importantly, causing a loss in heating efficiency.  

    It’s therefore important to understand why boilers can turn on and off seemingly at random and what can be done to fix it. Continue reading to find out. 


    What is boiler short cycling? 

    When a boiler turns on and off constantly, it’s known as short cycling. This typically occurs as a result of the boiler’s preheat function. Although frequent starting and restarting only happens when there is a miscommunication between components. 

    In short cycling, the internal thermostat of the boiler detects that the water within the system is cooling down and decides to compensate. This cooling occurs naturally when the central heating is turned off. The boiler then heats just enough water so the thermostat can register a higher temperature. After this short time, it turns off and the cycle repeats. 

    Short cycling can put strain on the boiler through the process of constantly reheating the water at a rapid pace. In addition, this can lead to an inflation in gas and energy bills. As such, it is a problem that should be addressed as soon as possible. Whether this is through inspection and remedial action or boiler replacement parts, it’s a cheaper alternative than buying and fitting a new boiler. 


    Reasons for boiler malfunction 

    There are many parts in a boiler that are all working towards monitoring water temperature and providing heat. As such, there can be many internal and external factors affecting the system which could lead to short cycling. Some common reasons include: 

    Faulty electronics 

    A boiler’s thermostat, timer, and other digital controls serve to dictate how the unit functions. If any of these connections are faulty, it can cause incorrect signals to be sent that trigger certain processes. In the case the thermostat is misinterpreting water temperature levels, it can result in short cycling. 

    Issues with water flow 

    Water flow is tied closely to boiler performance. As a result, many boilers will have measures in place that cause them to turn off when internal water reaches a certain temperature. Slow flow causes water to heat up more than usual due to increased exposure to the boiler heat exchanger.  

    Short cycling can happen due to this, as the boiler will keep overheating and turning off until the problems is fixed. Boiler water flow issues can arise due to limescale, and sludge build up, as well as defective valves. 

    Boiler size  

    Sometimes a boiler will be too powerful relative to the property it is housed within. This can happen when larger buildings are partitioned, and the original boiler is still used to heat one of the new properties. When boilers are oversized, they are able to satisfy the property’s heating needs much quicker than expected. This results in an overheating effect where the boiler is forced to cycle to maintain a consistent temperature. 

    Incorrect setpoint 

    All boilers come with internal controls that govern its response to certain conditions. These include the operator, limit, and (sometimes) modulating. How these setpoints relate to each other has a direct effect on the boiler’s overall functionality. If any are formatted incorrectly, they can interfere with one another and potentially cause the boiler to switch on and off. 

    A technician can resolve this issue by resetting the boiler to its last functional setpoints. Although, it may also be necessary to have to source some replacement boiler electrical components. 


    Quality boiler spare parts UK 

    If a boiler is turning on and off in quick succession, it doesn’t mean the entire unit needs to be replaced. The above causes each have relatively straightforward solutions, so long as you can source the right boiler replacement parts. At National Boiler Spares, we have a huge range of boiler spares. Contact us today to arrange next day delivery of your parts or a BSI accredited part refurbishment. 

    Is a whistling boiler dangerous?

    Kettling, where a boiler makes a whistling noise and often gives off steam, is an indication that something isn’t quite right with your boiler. Many modern heating systems have safeguards in place that prevent it from ever reaching this stage. However, for those living in old properties where the boiler hasn’t been updated or repaired in years, boiler kettling remains a risk. 

    In this blog, we’ll discuss what causes boiler whistling, if it’s dangerous, and how it can be fixed.


    What does a whistling boiler mean?  

    The whistling noise made by some boilers is an indication that the flow of water to and from the unit is being disrupted. As a result, the water is being slowed down and spending too much time in the boiler. This causes it to heat up more than it should, reaching temperatures of around 100°C. 

    The steam produced creates high amounts of pressure within the boiler, which is the route of further problems. Boilers are not designed to contain this kind of force, which is why the steam often escapes through gaps in the unit. Or the steam damages the boiler casing and other boiler components in an effort to escape. 


    Possible causes of a whistling boiler 

    When a boiler is making a whistling noise, there can be a variety of causes. These differ in the area of the boiler or boiler part that has been affected. 

    Faulty thermostat 

    A boiler thermostat is responsible for measuring the temperature of water in the boiler and then communicating its readings to other components. A malfunctioning thermostat could provide incorrect readings, which have the potential to cause overheating. 

    Limescale build up 

    Limescale can naturally build up in systems where water is constantly present, such as washing machines and boilers. It constricts the volume of water that can flow at any given time, which can lead to water being over exposed to the boiler flame. The issue of limescale is more likely to affect those who live in areas with hard water.

    Sludge build up 

    As water passes throughout a home’s heating supply system and back to the boiler over and over, debris can get dislodged along the way. Oftentimes this will flow around the system harmlessly and be removed during drainage. However, it can clump up and disrupt water flow. One of the common causes of sludge build up is Magnetite, a chemical substance produced by internal radiator wear.

    Damaged or defective pump 

    As you might guess, a boiler pump is vital to the flow of water throughout a property’s central heating. If it isn’t functioning optimally, it means water isn’t being pushed through the heat exchanger at a fast enough rate. A slow water flow is the main cause of overheating and in turn, boiler kettling.


    How to fix a boiler that’s whistling 

    No one wants their boiler to make unusual sounds, even if it’s completely harmless. In the case of whistling however, there is a chance it can be dangerous. The high pressure created within the boiler has the potential to burst pipework, leading to pressurised steam leaving the system. This carries the risk of burns and the creation of electrical hazards. 

    Therefore, it’s important to fix a whistling boiler as soon as the problem is recognised. From here, a professional has to inspect the system to identify what is causing the boiler to whistle. This lets them source the heating replacement parts needed to resolve the issue and return the boiler to normal functionality. In the case of limescale build up, a ‘noise reducer’ substance is often added to the system to break down large pieces of limescale. 

    Preventative measures 

    Of course, ideally your boiler won’t ever get to the stage where it’s whistling. Fortunately, there are certain steps that can be taken to help prevent kettling. This includes: 

    • Treating the system with chemicals – cleaning chemicals can be added to a heating system to help reduce sludge build up and keep water flowing freely. 
    • Installing a water filter – similarly, a filter helps remove any impurities from water as it travels in and out of the boiler. This reduces the risk of blockages. 
    • Clean the boiler heat exchanger – an important boiler part for accurate heating, the heat exchanger should be removed and scrubbed every few years. If limescale has built-up, seeking a heating spares supplier might be the best option.


    New (OEM) boiler spare parts UK 

    At national Boiler Spares, it’s our mission to provide leading remanufacturing solutions for professional engineers. This is combined with the aim of passing on cost savings to our customers, as well as those that use their services. If that wasn’t enough, the vast range of boiler replacement parts we stock all come with a 1-year warranty. Contact us today and a member of our team will see how your needs can be met. 


    How to drain a combi boiler

    Combi boilers are among the most common types of household boilers out there. It could need to be drained for a number of reasons. For instance, to avoid frozen pipes during periods of disuse. This can also be necessary when making repairs or alterations to heating systems, boiler parts, radiators, and pipework. 

    In this blog, you’ll find a clear step-by-step guide to draining a combi boiler. 


    What do you need to drain a boiler? 

    Before you start the process of draining the boiler, it’s important to gather some equipment. These tools are designed to allow for drainage without causing water spills or damage to the property’s heating supply system. They include: 

    • Bucket 
    • Spanner 
    • Radiator valve key 
    • Hose


    Process of draining a combi boiler 

    Every boiler will have a slightly different sequence when it comes to draining, which can be due to make, age, and any alterations made to the unit. As a result, regardless of your expertise, it’s always best to consult the manual beforehand. The following process is therefore intended to serve as a rough guide that can typically be applied to most combi boilers: 

    1.  First, you must turn off the boiler and disconnect it from the mains power supply. After this has been done, wait for any water in the system to cool down. This can take an hour or two at most.
    2. Find the boiler drainage valve. This boiler part is usually located at the heating system’s lowest point, so the best course of action is to examine any downstairs radiators. It can sometimes be found outside the property also.
    3. Attach a hose to the drainage valve and place a bucket underneath where it is attached. This will catch any leakage that occurs when the system is being drained. Then, lead the hose outside the property to a road gully grate or a sink.
    4. Once you are happy all equipment is secure, open the valves. This includes the drainage valve, as well as the bleed valves on all upstairs and downstairs radiators. Bleed valves indicate they’re open by making a hissing noise. You will need a spanner or wrench to open the valves.
    5. Check that water is flowing out the end of the hose to see if the combi boiler is draining effectively. After waiting some time, the water should have stopped. This is the sign the system has been drained fully.
    6. Finally, tighten the drainage valve and close all open bleed valves. While the system is empty though, it’s the perfect time to make any boiler repairs and replace faulty boiler parts. 

    Refilling a boiler is often done with a filling loop and a boiler filling key. For more information on how this can be done for a combi boiler, read our other piece ‘Do all boilers have a filling loop?’. 


    Get boiler spares for combi boilers 

    Whether you’re looking for specific boiler part for a job, a variety of spares for a certain combi boiler brand, or repair kits, National Boiler Spares has it all. Contact us today to arrange next day delivery. 

    How to set a boiler timer

    For those looking to save on their energy bills, which probably applies to the majority of people, a boiler timer is one of the most effective solutions. Most boilers across different brands and ages feature a timer. It ensures your heating is only turned on when you choose. As a result, you’re getting the maximum use out of the boiler without any heat wastage. 

    In this blog, we’ll be teaching you how to set a boiler timer to get the most out of your system and heat your property more efficiently. 


    Benefits of using a boiler timer 

    The main benefit that comes with using a boiler timer is the cost savings. A timer allows homeowners or tenants to control what time the heating and hot water in their property turns on and off. This ensures you’re only paying for the heat that you’re actually benefiting from. From an environmental standpoint, setting a timer also limits the amount of greenhouse gases produced by the boiler in the process of heating the property. 

    Another benefit is flexibility. With a timer, you know that your home will be warm when you need it. This is particularly useful for extended periods when you’re not going to be using the property. To support this, many boiler timers will have a range of set options. Common examples include auto, boost, all day, advance, on, and off. 


    Where can I find my boiler timer? 

    The appearance of a boiler timer will depend on the type of boiler brand, as well as how old of a model it is. Timers are generally located on the front cover of the boiler so they’re easily visible. Whatever the case, the boiler instruction manual should tell you exactly where to find the timer. This should also provide an overview of the boiler timer control interface. 

    The two types of timers you should be looking for are:  

    • Mechanical boiler timer – these typically appear as a round dial surrounding a 24-hour clock. It allows the heating to be turned on and off at certain times of the day. This pattern will occur at the same time each day unless it’s manually adjusted. 
    • Digital boiler timer – features a small screen interface with many more options for setting timers. The display will often have digital clock which can be used to set the time the boiler is turned on and off. A key difference is that digital timers allow different times to be set for different days of the week. 


    Setting a boiler timer 

    The process of setting a boiler timer is pretty straightforward. However, variations will be present due to the differences in makes and models. Below are general guides for setting both mechanical and digital boiler timers. 

    Setting a mechanical boiler timer 

    As an analogue timer, mechanical timers usually feature a round dial with lots of pins around the outside. Each of these pins signifies an increment of time, usually 15 minutes. The arrow fixed to the centre of the dial is used to adjust the timer. 

    1. The first thing to do is check that the current time is correct. Mechanical timers don’t automatically adjust with the changing seasons. As such, the boiler’s time could be early or late when you go to set the timer. 
    2. To choose the timer setting, push the pins in at the times you want the boiler to turn on and off at. For example, if you want the heating to come on for an hour at 7am you would press in the pins at 7am and 9am. It’s often best to set the boiler to turn on 15 minutes before the desired time, to allow the property time to heat up. 
    3. Lastly, the boiler must be set to ‘timer mode’. If this isn’t done, the system has to be turned on and off manually. 

    Setting a digital boiler timer 

    In comparison, digital timers are more flexible as they have greater options for setting. Arrow keys are responsible for selecting the start and stop times on the boiler timer.  

    1.  Firstly, just as with the mechanical timer, it should be checked that the current time on the boiler is accurate. While this is often automatically adjusted on digital timers, it’s still best to be safe. 
    2. Boilers with a digital display should have a ‘scheduling mode’. Activate it to set when the boiler is turned on and off. 
    3. Using buttons or a touchscreen if present, select the day and time you want the boiler to turn on. Separate periods can be chosen in the same day. 


    Order UK boiler parts 

    If you’re looking for manufacturer quality spare parts for boilers that can be delivered at short notice, look no further than National Boiler Spares. We stock parts for the repair of all the major heating brands, such as Vaillant, Worcester, Viessmann, Hermann, and many more. Our trade counter is open 6 days a week in Newcastle Upon Tyne or you can simply order the parts you need online. Contact us today. 

    What is a PCB in a boiler?

    A boiler PCB is an essential part of any heating system. It stands for printed circuit board and works like the brain or computer of the boiler. Controlling all the other functions within the system. If there’s a problem with your PCB your entire boiler will fail, and it can be costly to replace. In this guide we’ll be exploring more of exactly what a PCB is, how it works, and some common faults that can occur with it. So, you’ll have a better insight into the signs to look out for if you suspect your PCB isn’t functioning properly. 


    Defining a PCB boiler part 

    The PCB is the centre where the electronic components communicate and work together in synchronisation to provide uninterrupted heating and hot water. It is responsible for maintaining the temperature, pressure, and current flow to ensure the boiler always performs efficiently. Additionally, the PCB is also responsible for safety. So, before the boiler can ignite, the PCB will send a signal to the fan to turn on. The boiler cannot ignite if the fan isn’t working as it is essential for harmful exhaust fumes to be extracted from the boiler. 

    When the fan is turned on and running effectively, the PCB can certify that the boiler is safe for operation and the gas valve is then activated. This means the gas can flow into the burner and be ignited so the combustion can occur to produce heat. Alternatively, if the PCB senses that the fan isn’t working, or if there is a fault with the gas valve, thermistor etc. It will tell the boiler not to start up and an error code will be displayed.


    How can you tell if your boiler PCB is faulty? 

    Being aware of the signs of a faulty PCB is key to getting the problem resolved as quickly and cost effectively as possible. See the boiler PCB faults below. 

    Faulty display screen 

    If the screen on your boiler is showing broken images or isn’t displaying anything at all, there could be a loose connection between the interface and the PCB. The PCB relies on solid electrical connections between the boiler components. So, when there is a connection problem it can lead to something not working properly. However, a dodgy display won’t always be related to the PCB. Therefore, it’s always best to contact a Gas Safe engineer to check the boiler and find the cause of the fault. 

    PCB not communicating with the gas valve 

    As mentioned above the PCB works in tandem with the gas valve to generate heat within the boiler. When it has been deemed safe to do so. Once the signal is received that the fan is operational, it is transferred to the gas valve so gas steam can be provided to the burner. If there is an electrical fault between the PCB and the gas valve though, the sequence can be disrupted. This is a serious fault that can result in the boiler malfunctioning or causing a hazard within the home. 

    The gas valve and PCB both need to be working properly at all times to maintain the functionality and safety of the boiler. Regular inspections and maintenance can help ensure any potential issues are found and resolved early before they become any worse. If you think there could be a problem with either of these boiler parts, contact an engineer as soon as possible. 

    Smell of burning 

    A burning smell coming from any electrical appliance in your home is going to be some cause for concern. If it is coming from your boiler, it could be from an internal leak that has led to the circuit board burning. In this case, you must turn off your boiler straight away and contact a professional. If the leak is too severe or your boiler is very old, the best option could be to replace it. But check with your engineer if it is possible to repair the system first.

    A memory fault with the PCB 

    If you’re getting a memory fault error code on your boiler display screen, it could be a misconfiguration inside the PCB. This can be a fairly common issue if there has been a boiler or PCB replacement. If you have bought a new boiler and are experiencing this issue. You can check the user manual for the right code to re-synchronise the boiler with the PCB and solve the problem. 

    PCB wiring problems 

    Due to the PCB relying so heavily on electrical connections, if there is a drop in performance it could be because of a loose wire connection. A loose connection can massively impact how your boiler operates. Especially when it’s receiving signals from the fan and sending signals to the gas valve. Any loose wire connections need to be dealt with quickly by a professional to ensure the best possible performance and prevent any hazards from occurring. 

    The boiler turns off before reaching its ideal temperature 

    If a boiler turns itself off before it has got to the ideal temperature, it’s likely due to a breakdown of communication between the PCB and the thermistor. The thermistor is the part of the boiler that transmits signals to the PCB that accurately state whether the water has reached temperature. If the signals are wrong, the PCB will assume the boiler has got to the right temperature and turn it off. 


    Conclusion 

    Now that you have a better understanding of what a PCB and the signs to look out for when there is a fault with it. You will be able to easily identify a problem early and contact an engineer to come and repair the issue as quickly as possible. This will save you time and money on further repairs if the problem is left unidentified and worsens. 

    If you have an issue with your boiler and need high quality boiler spares and parts that don’t cost the earth, NBS can help. We specialise in cost effective and reliable new and refurbished boiler parts for homeowners across the country. Explore our wide range of products through our online shop to find the exact part you need, no matter the make or model of your boiler. Don’t hesitate to contact us if you have any questions. 


    Is the central heating pump part of the boiler?

    It’s no secret that hot water needs to move throughout a building for the central heating system to perform its function. While this process involves many boiler parts working in unison, the central heating pump is the most important. 

    Why is this? And if anything goes wrong with the central heating pump, where can it be found? That’s what we’ll be discussing in this blog. 


    What does a central heating pump do? 

    The central heating pump is responsible for transporting hot water to a building’s radiators, after it has been heated by the boiler. The pump will also circulate the water back to the boiler once it has cooled down. In a conventional boiler, this part ensures water is allocated to the central heating system as opposed to the taps and shower fittings. 

    A central heating pump will pressurise the water to ensure it travels at speed to the radiators. This is important, as it prevents the water from losing temperature during the journey. Loss of temperature is synonymous with a loss of efficiency. As such, if you notice your central heating is not responsive or losing effectiveness, it could be due to a faulty pump. The central heating pump impeller pressurises water by transferring energy to the liquid through rotation. 

    Equally, a pump pressure that is set too high can result in greater costs to the property owner or renter. This is because it causes more water than necessary to be transported throughout the building, thereby increasing both the water and electricity bills. 


    Central heating pump components 

    While the central heating pump is not a complex heating device, it does contain multiple components to perform its function. As a result, it’s usually only necessary to source select boiler replacement parts if a pump is found to be malfunctioning. These parts include: 

    • Water flow inlet – the circular opening where returning radiator water enters the pump. The diameter of this component influences the overall flow rate of the pump. 
    • Pressure adjust – an electronically powered dial that can be used to make manual adjustments to the pressure level of the pump. 
    • Water flow outlet – the port where pressurised hot water leaves the pump to travel around the central heating system, including radiators and pipes. As with the inlet, the diameter of a pump outlet is a factor in determining maximum flow rate. 
    • Impellers – a rotating mechanism that pressurises water inside the pump. 
    • Bleed screw – a screw typically located on the front of the pump. Removing the bleed screw according to manufacturer directions allows trapped air to be bled from the system. 
    • Electrical components – central heating pumps feature electrical connections to pass signals between various components. This is a more prominent feature in pumps that utilise automation. There will also be a supply cable that connects the pump to the mains. 

    Some pumps feature a dial that allows for the water pressure to be manually adjusted. However, this is only recommended on the advice of a professional. Oftentimes, central heating pumps can be adjusted to ensure efficiency when heating buildings of different sizes. For instance, a boiler in a single bedroom flat does not need to be highly pressurised to provide heat to the structure. 


    Types of central heating pump 

    Central heating pumps come in many varieties and sizes to ensure the boiler can heat whatever property it is installed in. These types differ based on the speeds at which the pumps can be set, including:  

    • Single speed – one speed without the option to be adjusted. Although quite rare nowadays, this pump is typically used to heat smaller homes and apartments. 
    • Multiple speed – a pump with around three different speed settings that can be freely adjusted by an individual. 
    • Variable speed – an automatically adjusting pump that can change its speed of flow while the central heating is in operation. This type of pump is not advised for properties with thermostatic radiator valves (TRVs). 
    • Combination – offers flexibility between a variable setting or one of three fixed speed settings.


    Where is the central heating pump located? 

    As mentioned above, central heating pumps are chosen depending on the building and its heating requirements. The nature of the property also influences where the pump is located. It has to be close to the mains electricity supply, as well as the boiler. Bearing this in mind, common locations include: 

    • Under the stairs. 
    • In an airing cupboard. 
    • In or near the bathroom. 

    Combi boilers 

    As combi boilers are designed from scratch to provide heat for the central heating as well as taps and shower heads, they feature in-built pumps. In this case, the pump can be found inside the boiler itself. 


    Central heating boiler parts and spares 

    If an issue with the central heating pump persists, you’ll need to seek out a heating spares professional. NBS has a vast range of boiler spare parts all manufactured and refurbished to BSI standards. Our quick turnaround times mean you’ll never be left without heat for long. Contact us today. 

    How to fix a leaking boiler pressure relief valve

    Boiler pressure is determined by the level of water and gas within the unit. It’s essential for this to be balanced to ensure proper functionality and safety. As such, all residential and commercial heating systems will contain some form of pressure relief valve. Regardless, the application and presence of boiler pressure valves is of great importance, so must be fixed immediately when there is a fault.  

    In this blog, we’ll be covering recognising a malfunctioning boiler pressure relief valve, and how a leaking one can be fixed. 


    What does a boiler pressure relief valve do? 

    Boiler pressure relief valves are safety measures designed to prevent the build-up of pressure within the boiler. It does this by monitoring internal pressure levels and allowing for the safe exit of pressurised fluids from the system. Excess pressure within a boiler can lead to costly damages, shut down, or even hazardous rupturing. 

    The pressure relief valve can vary in its location depending on the boiler make and the layout of the property. However, it’s usually positioned inside the casing at the bottom, or on the side close to the water level. It will also likely be positioned close to the mains water supply. In either case, it will connect to copper or PVC tube that travels downwards from the boiler unit. 

    Most pressure relief valves contain a spring-loaded mechanism to allow for pressure reduction. The force of the pressure simply forces the valve open, leading the fluid or steam away from the boiler. Then, once the pressure has been reduced to satisfactory levels, the spring causes the valve to close. 


    Spotting a faulty pressure relief valve 

    A defective boiler pressure relief valve can be indicated in a few ways. The first is through audible stress being exerted on the boiler unit. This is due to steam build-up, caused when it is unable to escape the interior of the boiler. The result is a rattling or whistling sound heard coming from the unit. 

    Second, if you notice a loss of boiler pressure, this could be caused by faults associated with the pressure release valve. For instance, a blockage around the valve that prevents it from closing fully. In this case, pressure is constantly being allowed to exit the system. A boiler blockage can be caused by either a concentration of debris or limescale interfering with the mechanism. 

    Last, leaks can be an indication that something is wrong with the boiler’s pressure relief valve. A leaking boiler is often evidence of an unhealthy amount of pressure build-up, resulting from a defective pressure relief valve. As a reverse of the above scenario, this will occur when the valve is prevented from opening. 


    Fixing a leaking pressure relief valve for boiler 

    It is extremely important to fix a malfunctioning pressure relief valve as soon as it gets noticed, especially if it results in a boiler leak. As mentioned above, this is because the valve is causing the pressure within the boiler to rise. Fixing or replacing the pressure relief valve is a far more cost-effective option than having to get a replacement boiler due to ruptures. Not to mention the additional inconvenience of a loss of heat resulting from boiler breakdown. 

    Fixing a leaking pressure relief valve is also an important safety measure to protect other internal boiler components. In fact, many industries make sure all heating systems are fitted with pressure relief valves as standard. Taking all of this into account, it is recommended that boiler pressure relief valves are fitted by a qualified professional. They will likely do the following: 

    • Turn off the fuel supply. 
    • Turn off the water. 
    • Undo the nut connecting the pressure relief valve to the outflow pipe. 
    • Loosen the pressure relief valve grub screw and remove the part. 
    • Fit a new valve, tighten the grub screw, and reattach the pipe. 
    • After all nuts and screws have been tightened, the boiler can be repressurised. 
    • All radiators in the build must be bled. 

    It should also be noted that boiler pressure relief valves come in a range of sizes. It’s important that the correct size is fitted to the boiler to ensure an efficient transfer of pressure. Too big and the boiler won’t maintain pressure, too small and there is significant risk of dangerous pressure build-up. 


    Boiler parts UK 

    National Boiler Spares has a vast range of boiler parts, including boiler pressure relief valves in a range of makes, models and sizes. All our stock is certified to BSI ISO 9001:2015 and BSI ISO 14001:2015 standards. Our catalogue is also simple to navigate, making it quick and easy to find the parts you need. Once ordered, we have many flexible delivery options to suit you. Contact us today. 

    Heat pumps vs standard gas boilers: The pros and cons

    The debate between heat pumps vs gas boilers has been a hot topic recently. With the government pushing for green technology like heat pumps to be rolled out as much as possible. However, in practice, for the homeowners who would be buying, installing, and living with heat pumps, are they really a better option than gas boilers at present? In this guide, we’ll be looking at the pros and cons of heat pumps and gas boilers. To give you a better understanding of which is the right option for you. 


    Firstly, what is a heat pump? 

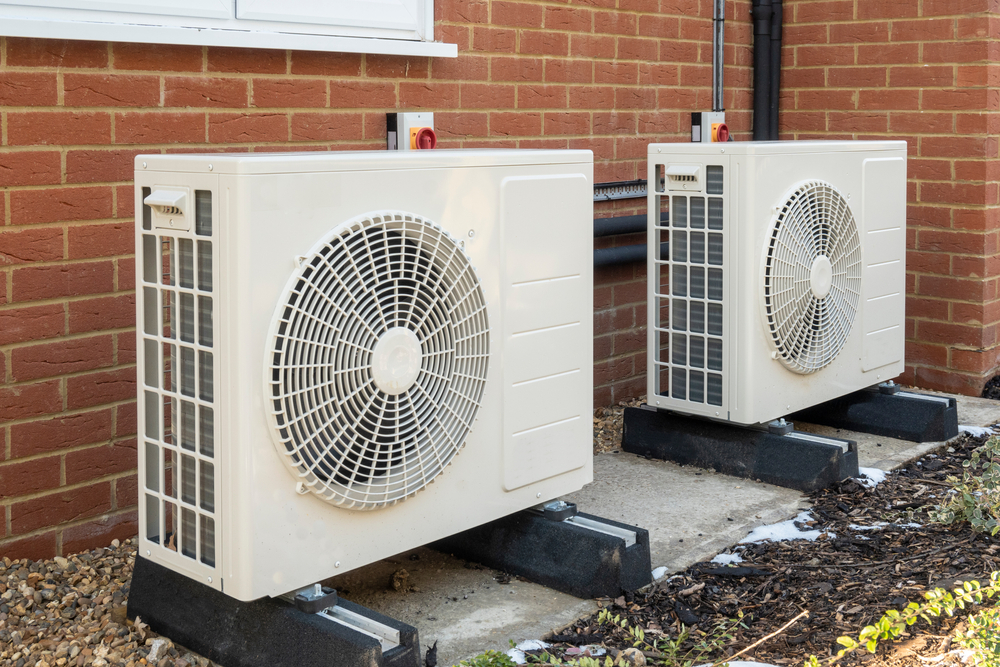
    Heat pumps are a fairly new form of heating technology that work by pumping heating from one place to another. There are three main types of air source heat pumps: air source, ground source, and hybrid heat pumps. They work by extracting heat from the air, ground, or water to provide central heating and hot water. Hybrid heat pumps can also use a boiler to generate extra heat when the temperature becomes especially cold. 

    Air source heat pumps are the most common type as they are typically easier to install and maintain in comparison to ground pumps as well as being more efficient. They use electricity to operate and essentially work the same way as an air conditioning unit but in reverse. The air to water device extracts warmth from the exterior air and subsequently heats the water in your home’s central heating system. If you have an air-to-air heat pump it works in a fairly similar way. It will take heat from the outside air but that will then be fed straight into your home using fans. 


    What is a gas boiler? 

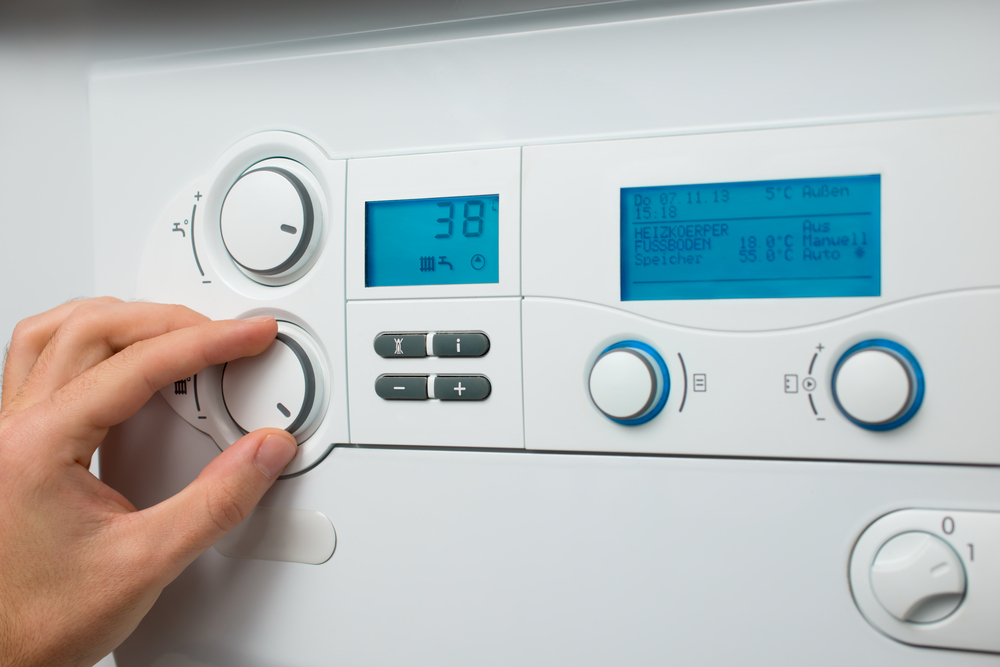
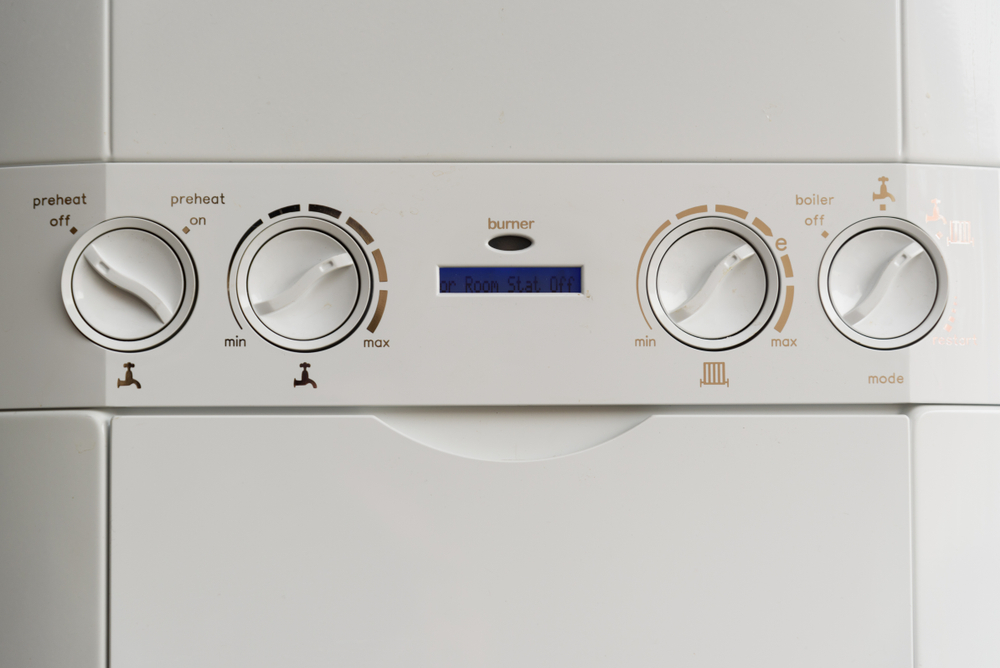
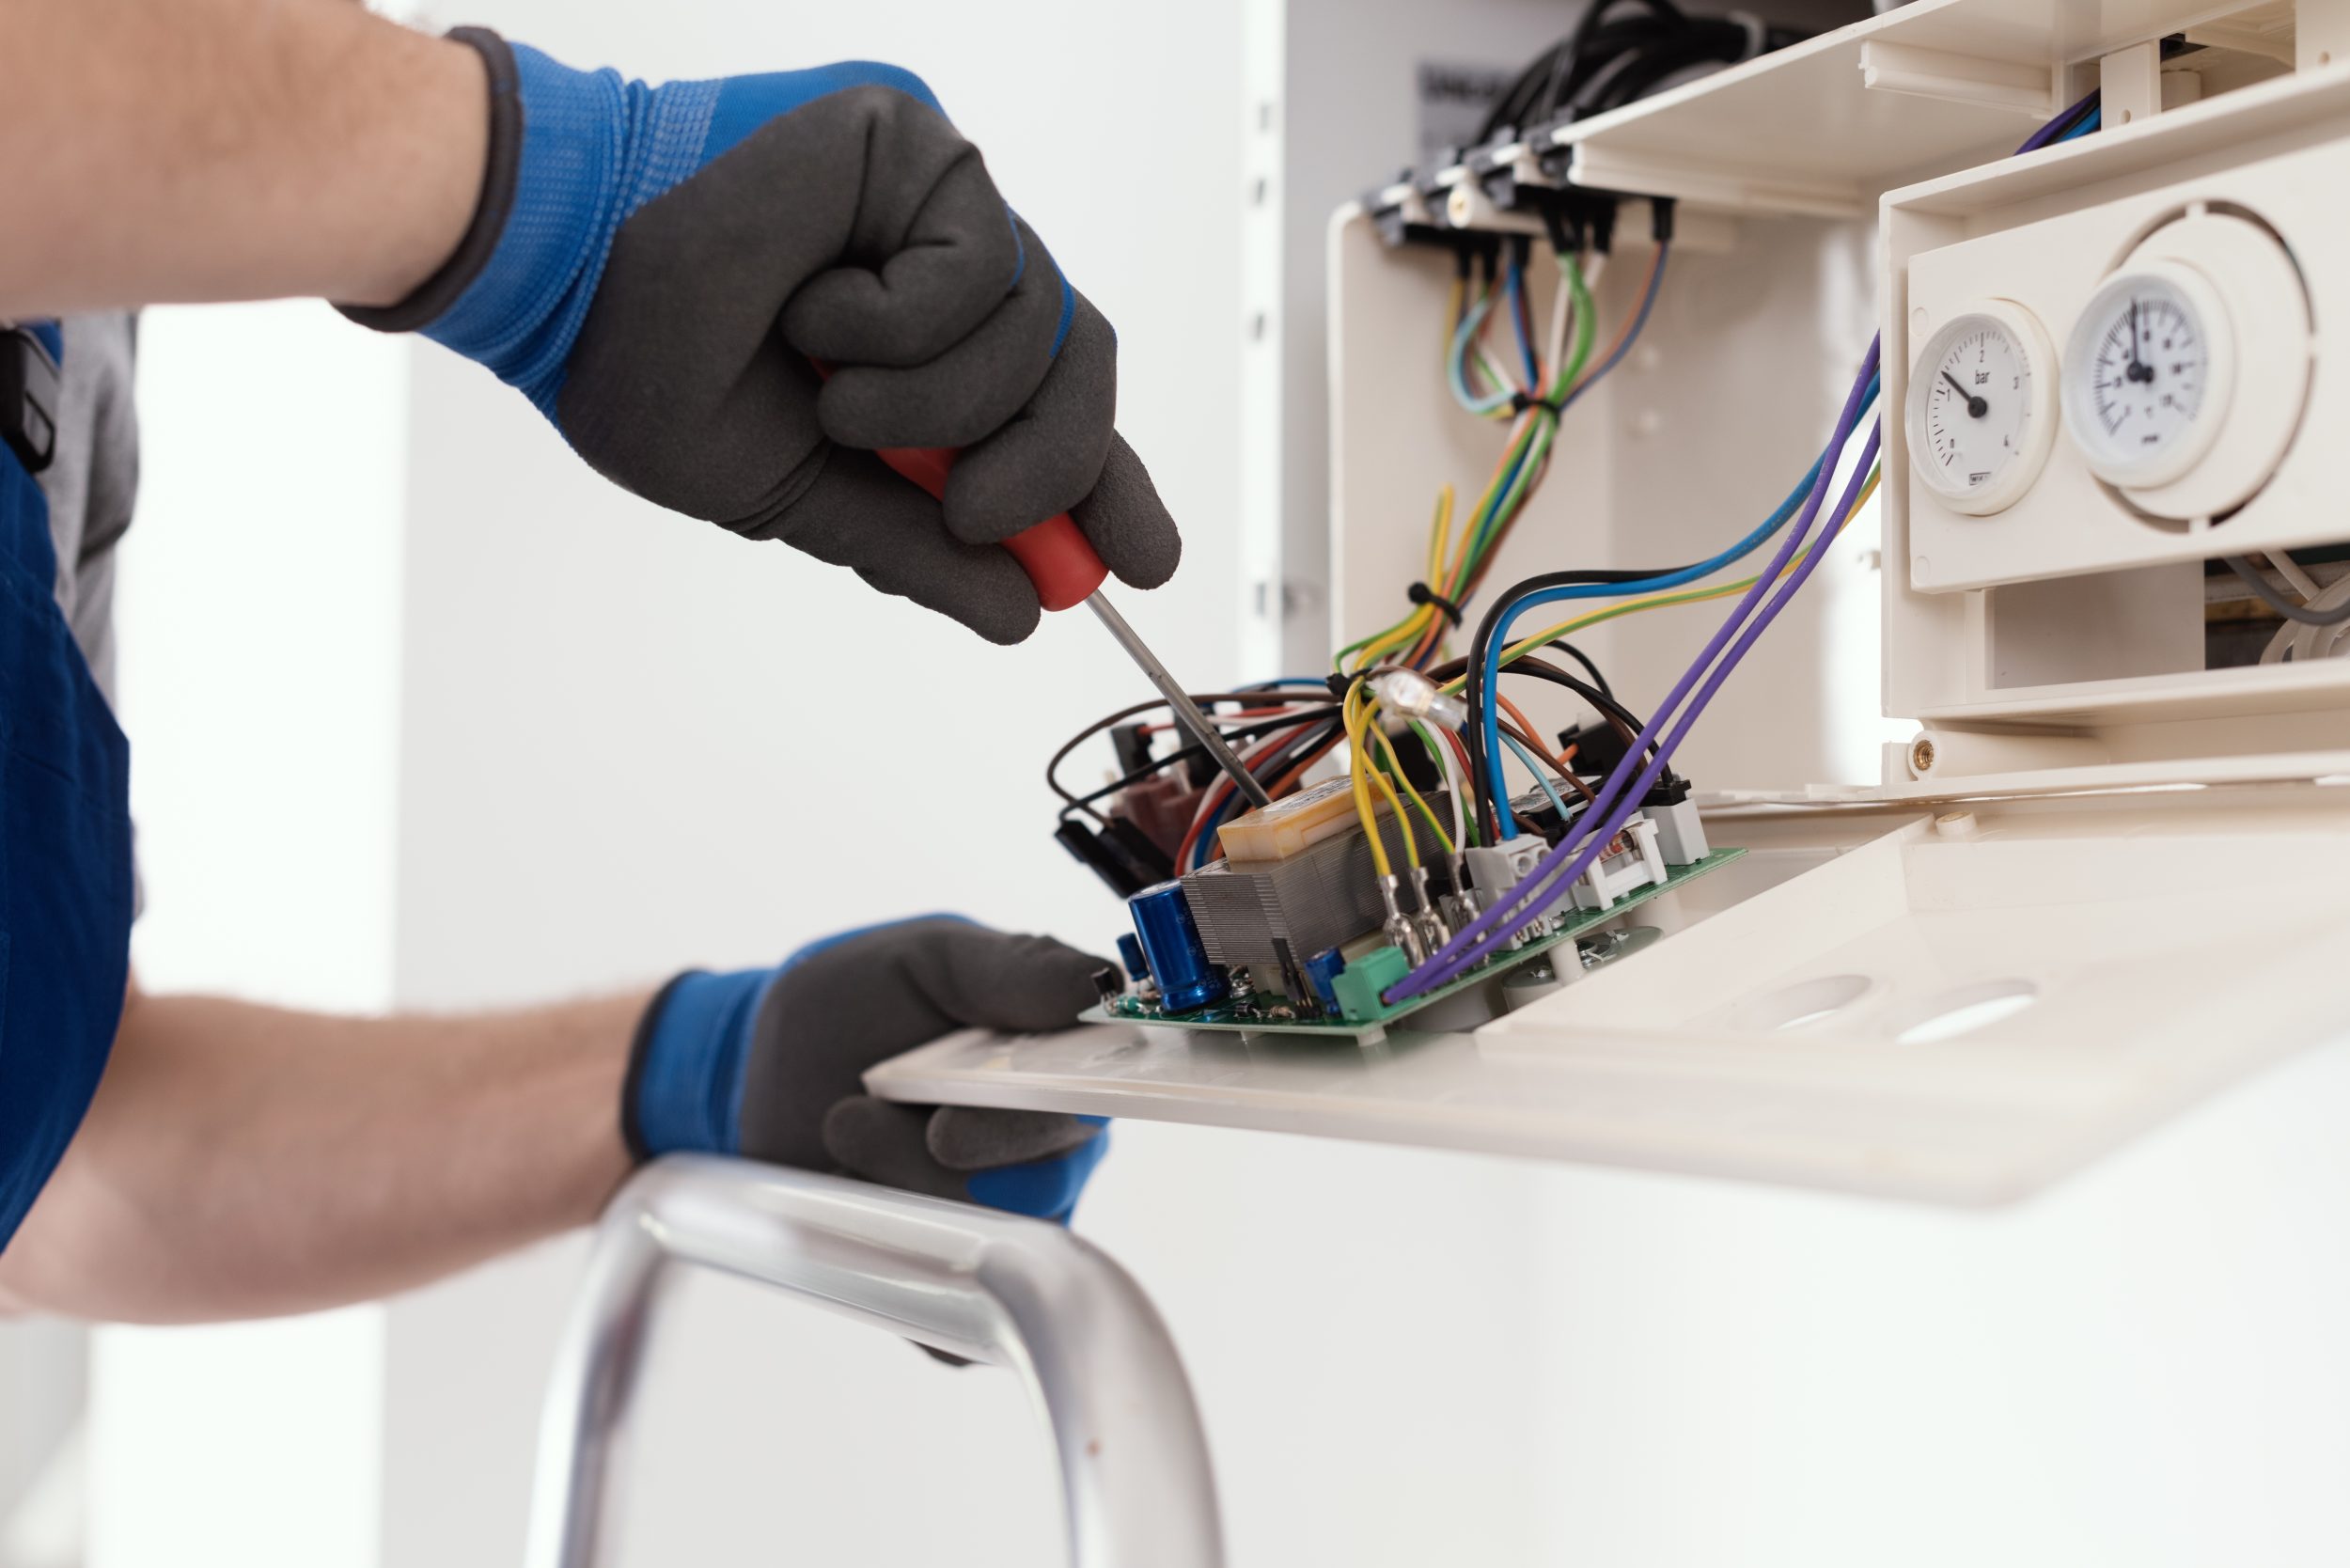
    You might already be familiar with a gas boiler, but for the purposes of comparing the two heating systems, it’s worth including a quick run through. Gas boilers rely on natural gas to create heat. So, gas is piped into your home, then it is ignited and the flame it generates is then used to heat water which goes through the boiler. Due to a gas boiler relying on the finite resource of gas, it can’t be fully renewable, which is why they are now being compared to heat pumps.


    Comparing the pros and cons of heat pumps and gas boilers 

    Both heat pumps have positives and negatives that we’re going to compare below. To see which is the better heating option for homeowners. 

    Purchase price and installation 

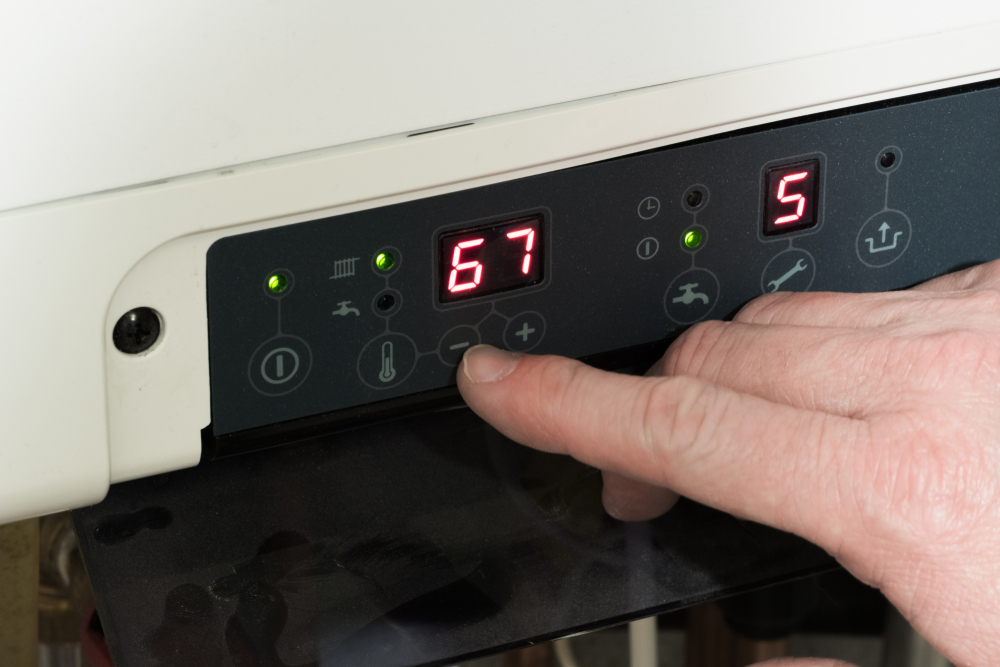
    Gas boilers have been around for many years now, which means the technology has become easy and affordable to implement. You can also get gas boiler spare parts at a cheap price too in the event that your boiler needs a repair over the course of its life. These boilers are fitted in 85% of homes across the UK. So, replacing them is quick and fairly inexpensive with few additional parts being needed. 

    On the other hand, heat pumps are a new and up and coming technology. Therefore, it’s not as widely accessible, which in turn means the cost for homeowners is significantly more expensive. It has even been known to cost up to £15,000 to have a heat pump installed in a standard home. For many homeowners this would be out of reach already, but you also need to consider the possibility of something going wrong with the pump. 

    Spare parts for heat pumps are significantly more expensive than they are for boilers. So, even after paying such a high price to purchase the pump and have it installed. You could still find yourself out of pocket. Additionally, there is less demand for heat pumps. Not as many homeowners are familiar with them and their cost is off-putting. 

    As a result, there are typically fewer installers that can fit them, which would mean a longer wait time. When there is someone available to install them, they can take a while to be installed too, especially in comparison to gas boilers. The latter can take a few hours whereas air source heat pumps will be between 2 and 3 days approximately. 

    In terms of upfront cost and installation, gas boilers are much easier to install and inexpensive to purchase. If you were ever stuck without heating or hot water, a gas boiler will be a faster and more effective option than a heat pump. 

    Running costs 

    On the surface, it might seem like heat pumps would be a lot cheaper to run than gas boilers, but this isn’t necessarily true. Right now, the cost of electricity is much higher than gas, which means a heat pump might not be cheaper to run than a standard boiler. This is especially the case if a property has poor thermal efficiency or if all the windows are open on a cool day. However, for every 1kWh of heat they provide, only 25% comes from the electricity it runs on. 

    The other 75% comes from the air or ground, making them highly efficient in the right property and conditions. Although there is an additional layer of complexity to heat pumps as an energy audit would be needed before it could be installed. The audit would look at the property’s insulation, current tariffs, heat loss, and the size of the home. 

    Ultimately, if a heat pump is fitted in a thermally efficient property, then it will be cheaper to run than a gas boiler. However, many properties in the UK are not completely thermally efficient and would require investment to make them so, in order to bring the running costs of a heat pump down. 

    For those who do invest in a heat pump, it can take a long time to pay them off (around 15 years) and in some cases they’re never paid off. When you consider that alongside the running costs of the heat pump, you’ll be spending a substantial amount of money on it. 

    Efficiency 

    When looking at efficiency, we refer to how much fuel is converted into heat energy. Modern gas boilers are typically rated around 90% efficient. So, 90% of the energy can be changed into heat energy and only 10% is wasted. As you would probably expect, heat pumps are highly efficient. Air source heat pumps have an efficiency rating of roughly 300%. This means for every 1kWh of electricity the pump uses, it will generate 3 to 4 times as much heat. 

    As you can see heat pumps are much more efficient than boilers. However, they do require a much greater cost in order to achieve that. In addition, heat pumps have a life expectancy of around 10 to 15 years. This is reasonably good, but a high-quality boiler can last you more than 20 years if it is properly maintained and cared for. 


    Conclusion 

    Overall, there are some clear benefits to heat pumps, they are a renewable source of energy which makes them environmentally friendly. Also, they are very efficient, which means homeowners will get a lot back for their money in terms of running costs. However, their substantial installation cost, the complexity of the installation. As well as the specific circumstances that would be needed for the property it’s installed in, for it to be worthwhile are significant drawbacks. For the majority of homeowners, a gas boiler is going to be the better option for at least the foreseeable future. This is at least until the technology develops further and becomes more accessible. 

    Looking for boiler replacement parts for your heating system? NBS has got you covered. We’re specialist boiler spare parts suppliers that provide cost effective new and refurbished boiler parts to customers across the country. Explore our online shop to find the exact part you need for your boiler no matter the make or model. Contact us if you have any questions. 


    How to fix an E1 error on a Potterton boiler

    Whenever your boiler shows an error code you might immediately think about an expensive engineer visit and repairs. However, that’s not always the necessary solution as some errors on a Potterton boiler you can manage to fix yourself. In this guide, we’ll be looking specifically at what the E1 error on a Potterton boiler means and the steps you can take to resolve it.


    What does an E1 error code on a Potterton boiler mean?

    Even though it can be frustrating to see an error code appear on your boiler, the E1 code is a fairly common one amongst Potterton boilers and normally isn’t too serious. An E1 code typically means your boiler has low pressure, which is leading it to lock you out and not work as it should.  

    When you see this code appear, you should be able to fix it and get rid of the error by repressurising your Potterton boiler. However, not every E1 code means the boiler pressure is low, and if you repressurise the boiler and the problem doesn’t resolve you should contact a professional Gas Safe engineer to diagnose and repair the system.


    Examples of common E1 error codes 

    In order to get a better understanding of what the precise cause of the error is you should pay attention to the numbers that follow E1. See some examples of E1 error codes and their meanings below to give you a better insight into the potential issue with your boiler.  

    • E119 – this code means low water pressure as we mentioned above. It is an issue that can be easily resolved by repressurising your boiler (adding water to the system). If the code continues to come back, it’s likely you’ve got a leak in the system or there is a problem with your pressure sensor. An experienced engineer will be able to locate the source of the problem in this case and advise on any boiler replacement parts you might need. 
    • E133 – if you see this error code it suggests that there is a fault with the gas supply. To fix this problem you should reset the boiler after ensuring the gas supply is open and active. When resetting the boiler, if the issue doesn’t look like it is going to resolve after holding the button for five seconds, you should contact an engineer.  
    • E168 – when your boiler displays this E1 code it can mean that the system has found a fault somewhere but is unsure of the cause. It might be a problem with the electrical supply, you can try to reset the system to see if that fixes it.


    How to repressurise your Potterton boiler

    As boilers age it is common for them to need repressurising every now and again, especially if the E119 code is displaying. The first step in increasing the pressure in your boiler is to check the reading on the pressure gauge. Normally, boiler pressure should be around 1 to 1.5 bar. When checking for a low pressure reading you will likely notice that the gauge has dropped to below 1 bar.  

    Step 1 

    Turn off all your radiator bleeder valves and towel rails. 

    Step 2 

    Retrieve your boiler’s filling loop if it has an external loop and attach it to the boiler.  

    Step 3 

    Open the valves to top up your boiler’s pressure through the filling loop, keeping an eye on the pressure gauge as you do so. As soon as the pressure gauge gets to within normal parameters close the valves and detach the filling loop. Make sure you fully close the filling loops and valves to avoid the possibility of leaks occurring. 


    Does an E1 fault code mean you need to replace your boiler? 

    It’s easy to jump to conclusions and assume that an error on your boiler means it’s on its way out and you’ll need to replace it. However, quite often this isn’t the case, and your boiler will still have many years of life left once this one fault has been fixed. If repressurising the boiler fixes your E1 code with no further issues, then there would be no reason to rush into buying a new boiler straight away.  

    On the other hand, if your boiler is already an older system and you’re having multiple problems with it, it might be worth doing some calculations and seeing whether consistently repairing your boiler is costing you more than simply replacing it would. Every situation is different and if you aren’t sure whether it’s time for a new boiler or not check out our other recent guide on the topic here.  


    Conclusion: Where can I get boiler spare parts near me?

    If you’re having a problem with your Potterton boiler and are looking for an affordable and reliable solution, NBS can help. We offer cost effective new and refurbished boiler spare parts UK to help our customers get their boilers fixed without the hefty price tag. Find the exact part you need for the make and model of your boiler through our online shop today. Contact us if you have any questions or queries. Â